Project: Garbage Enclosure
Turning garbage bins into treasure chests, one enclosure at a time.
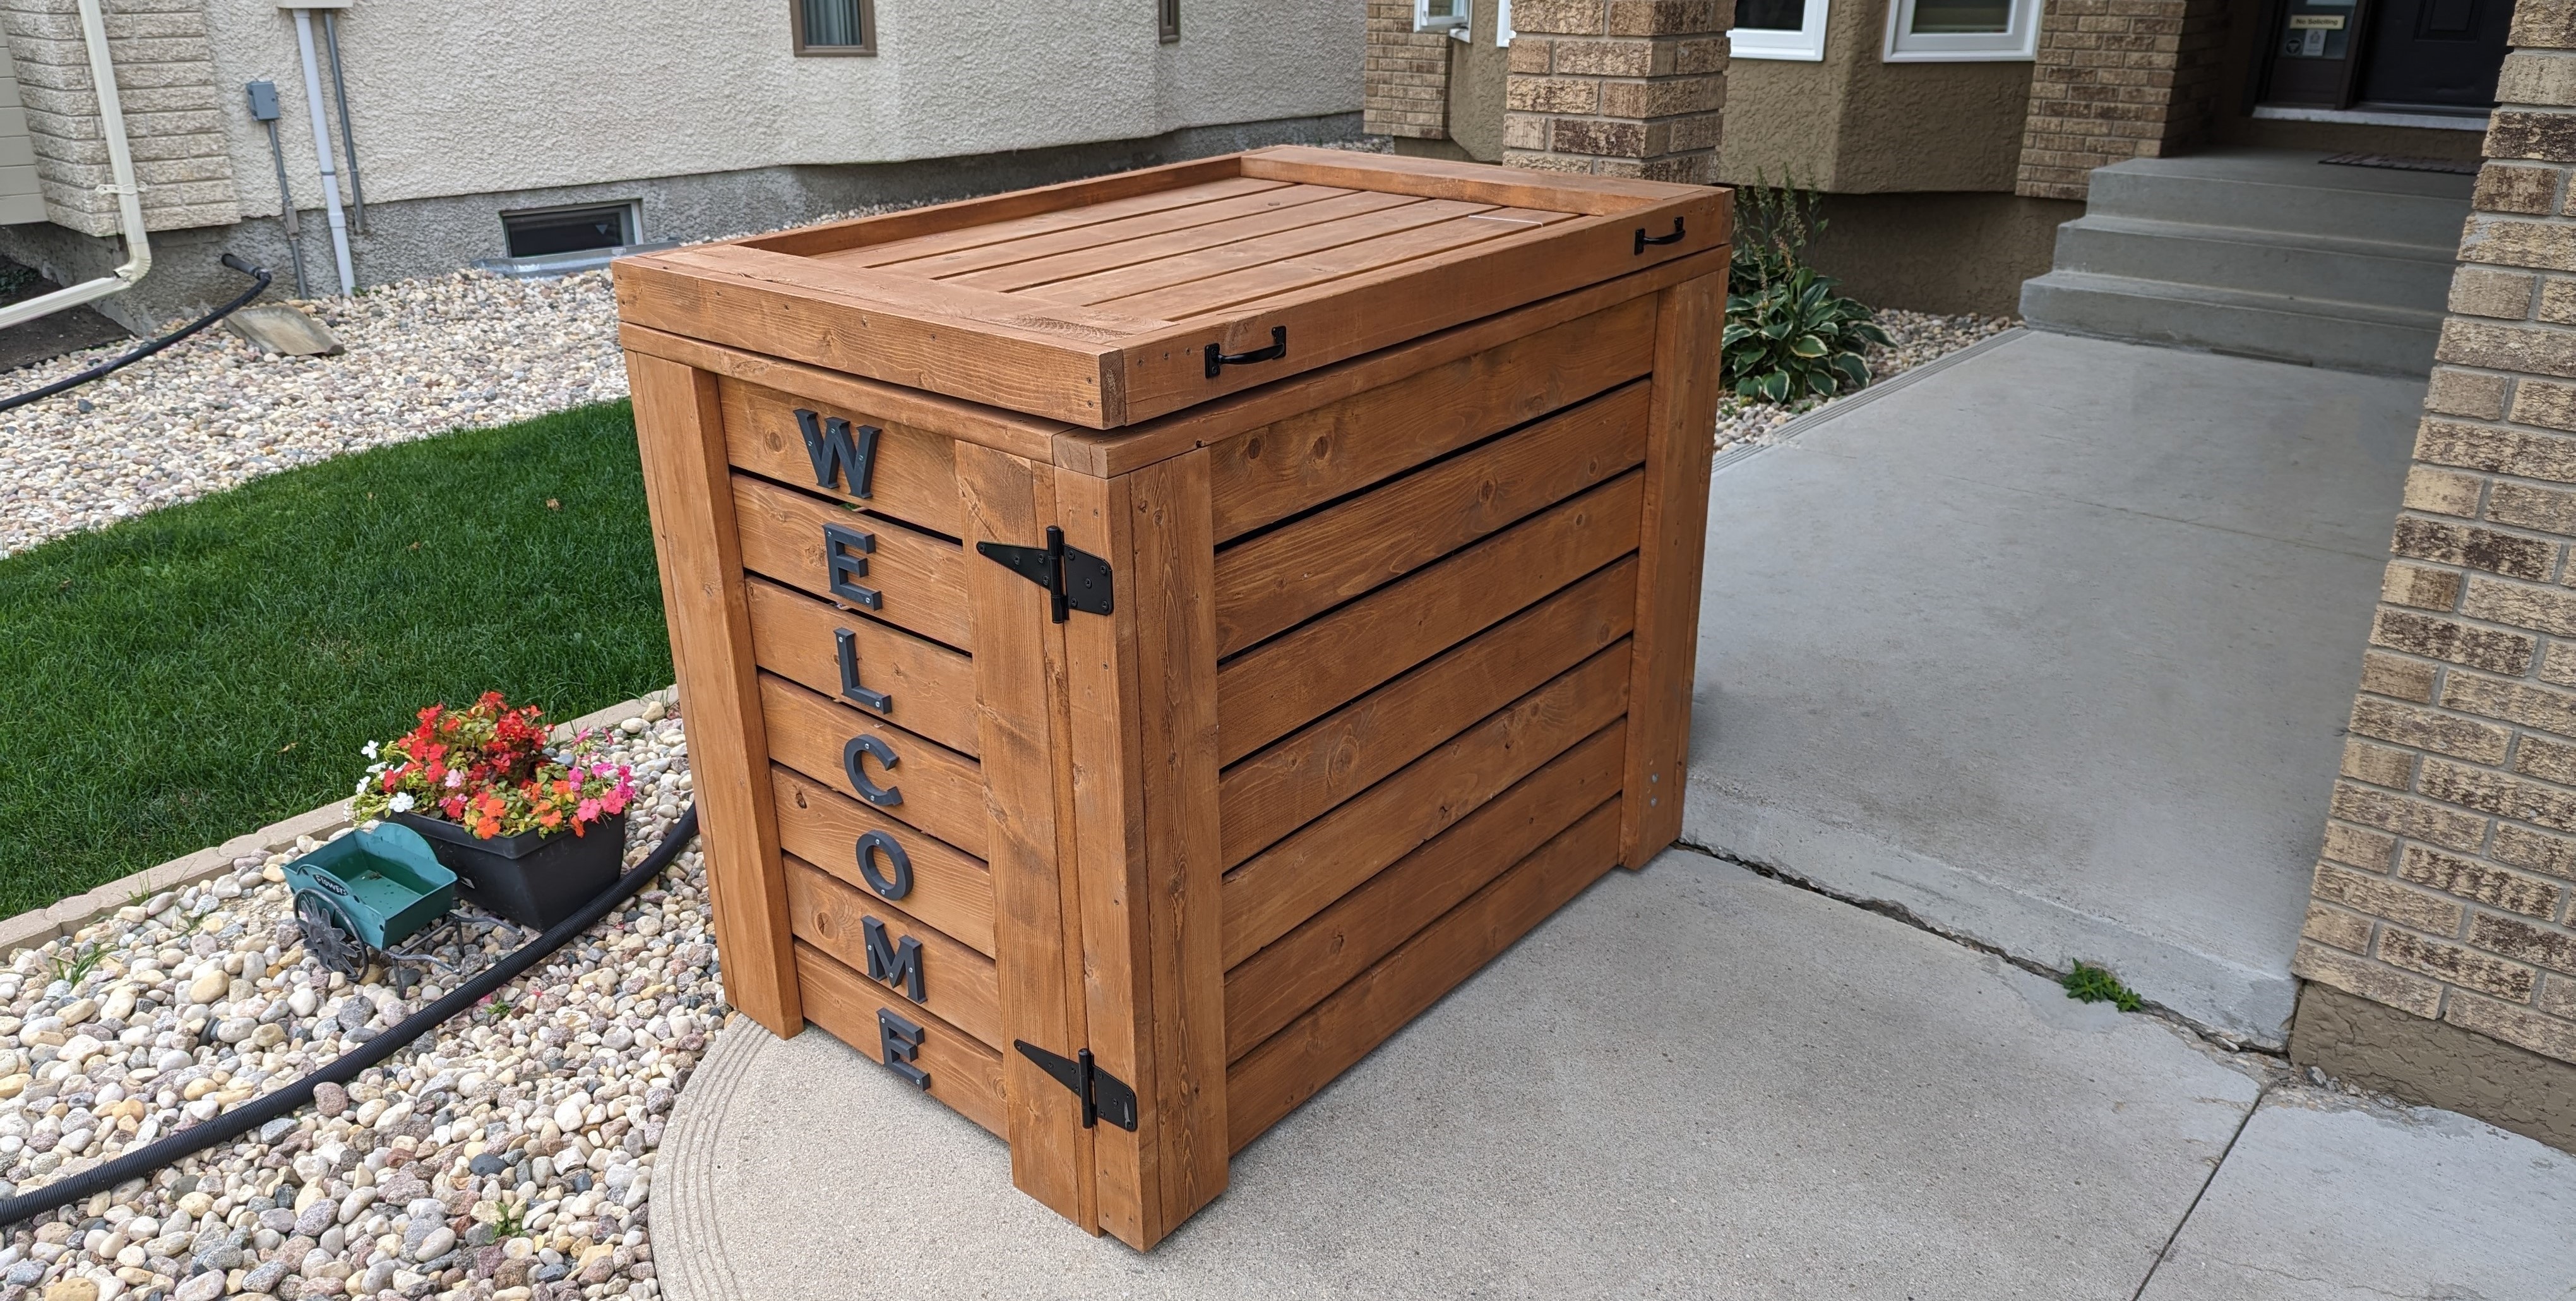
My mom has always hated the look of the garbage bins in front of our house. Beyond calling them “eye sores”, she was also looking for a solution to covering them up. On her morning walks, she spotted little wooden walls covering the garbage bins. She soon came to me and asked me to build something similar. Knowing that I enjoy engineering, I also wanted to apply some functionality to my design along side the aesthetic benefits.
The scope of this project was to "beautify" the garbage bins so that they blended in with our houses architecture. I decided to add on the goals of making this more of a garbage enclosure as opposed to a pen. That would mean it would require moving parts, including a door and a lid. As civil engineers generally focus on more static problems, this required some thinking.
Since the enclosure was primarily made from wood it would have significant weight when entirely assembled. I needed to ensure that the structure would be able to support its lid and gate without flexing which would lead to failure. I also had to make sure that the lid could be easily opened by my mother, which meant it needed to be light weight and not too tall when open.


Methodology
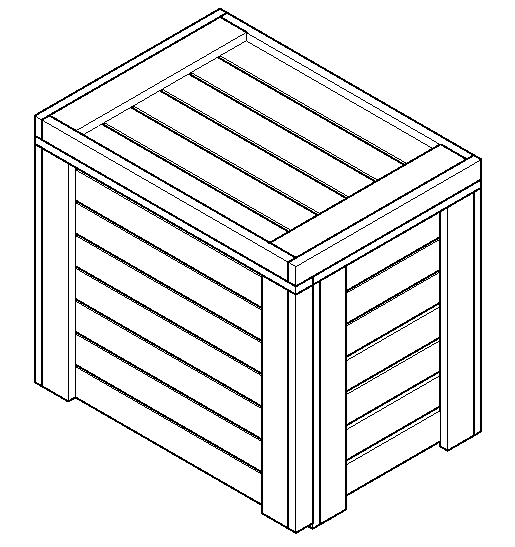
- Design enclosure in AutoCAD.
- Develop parts list and purchase materials.
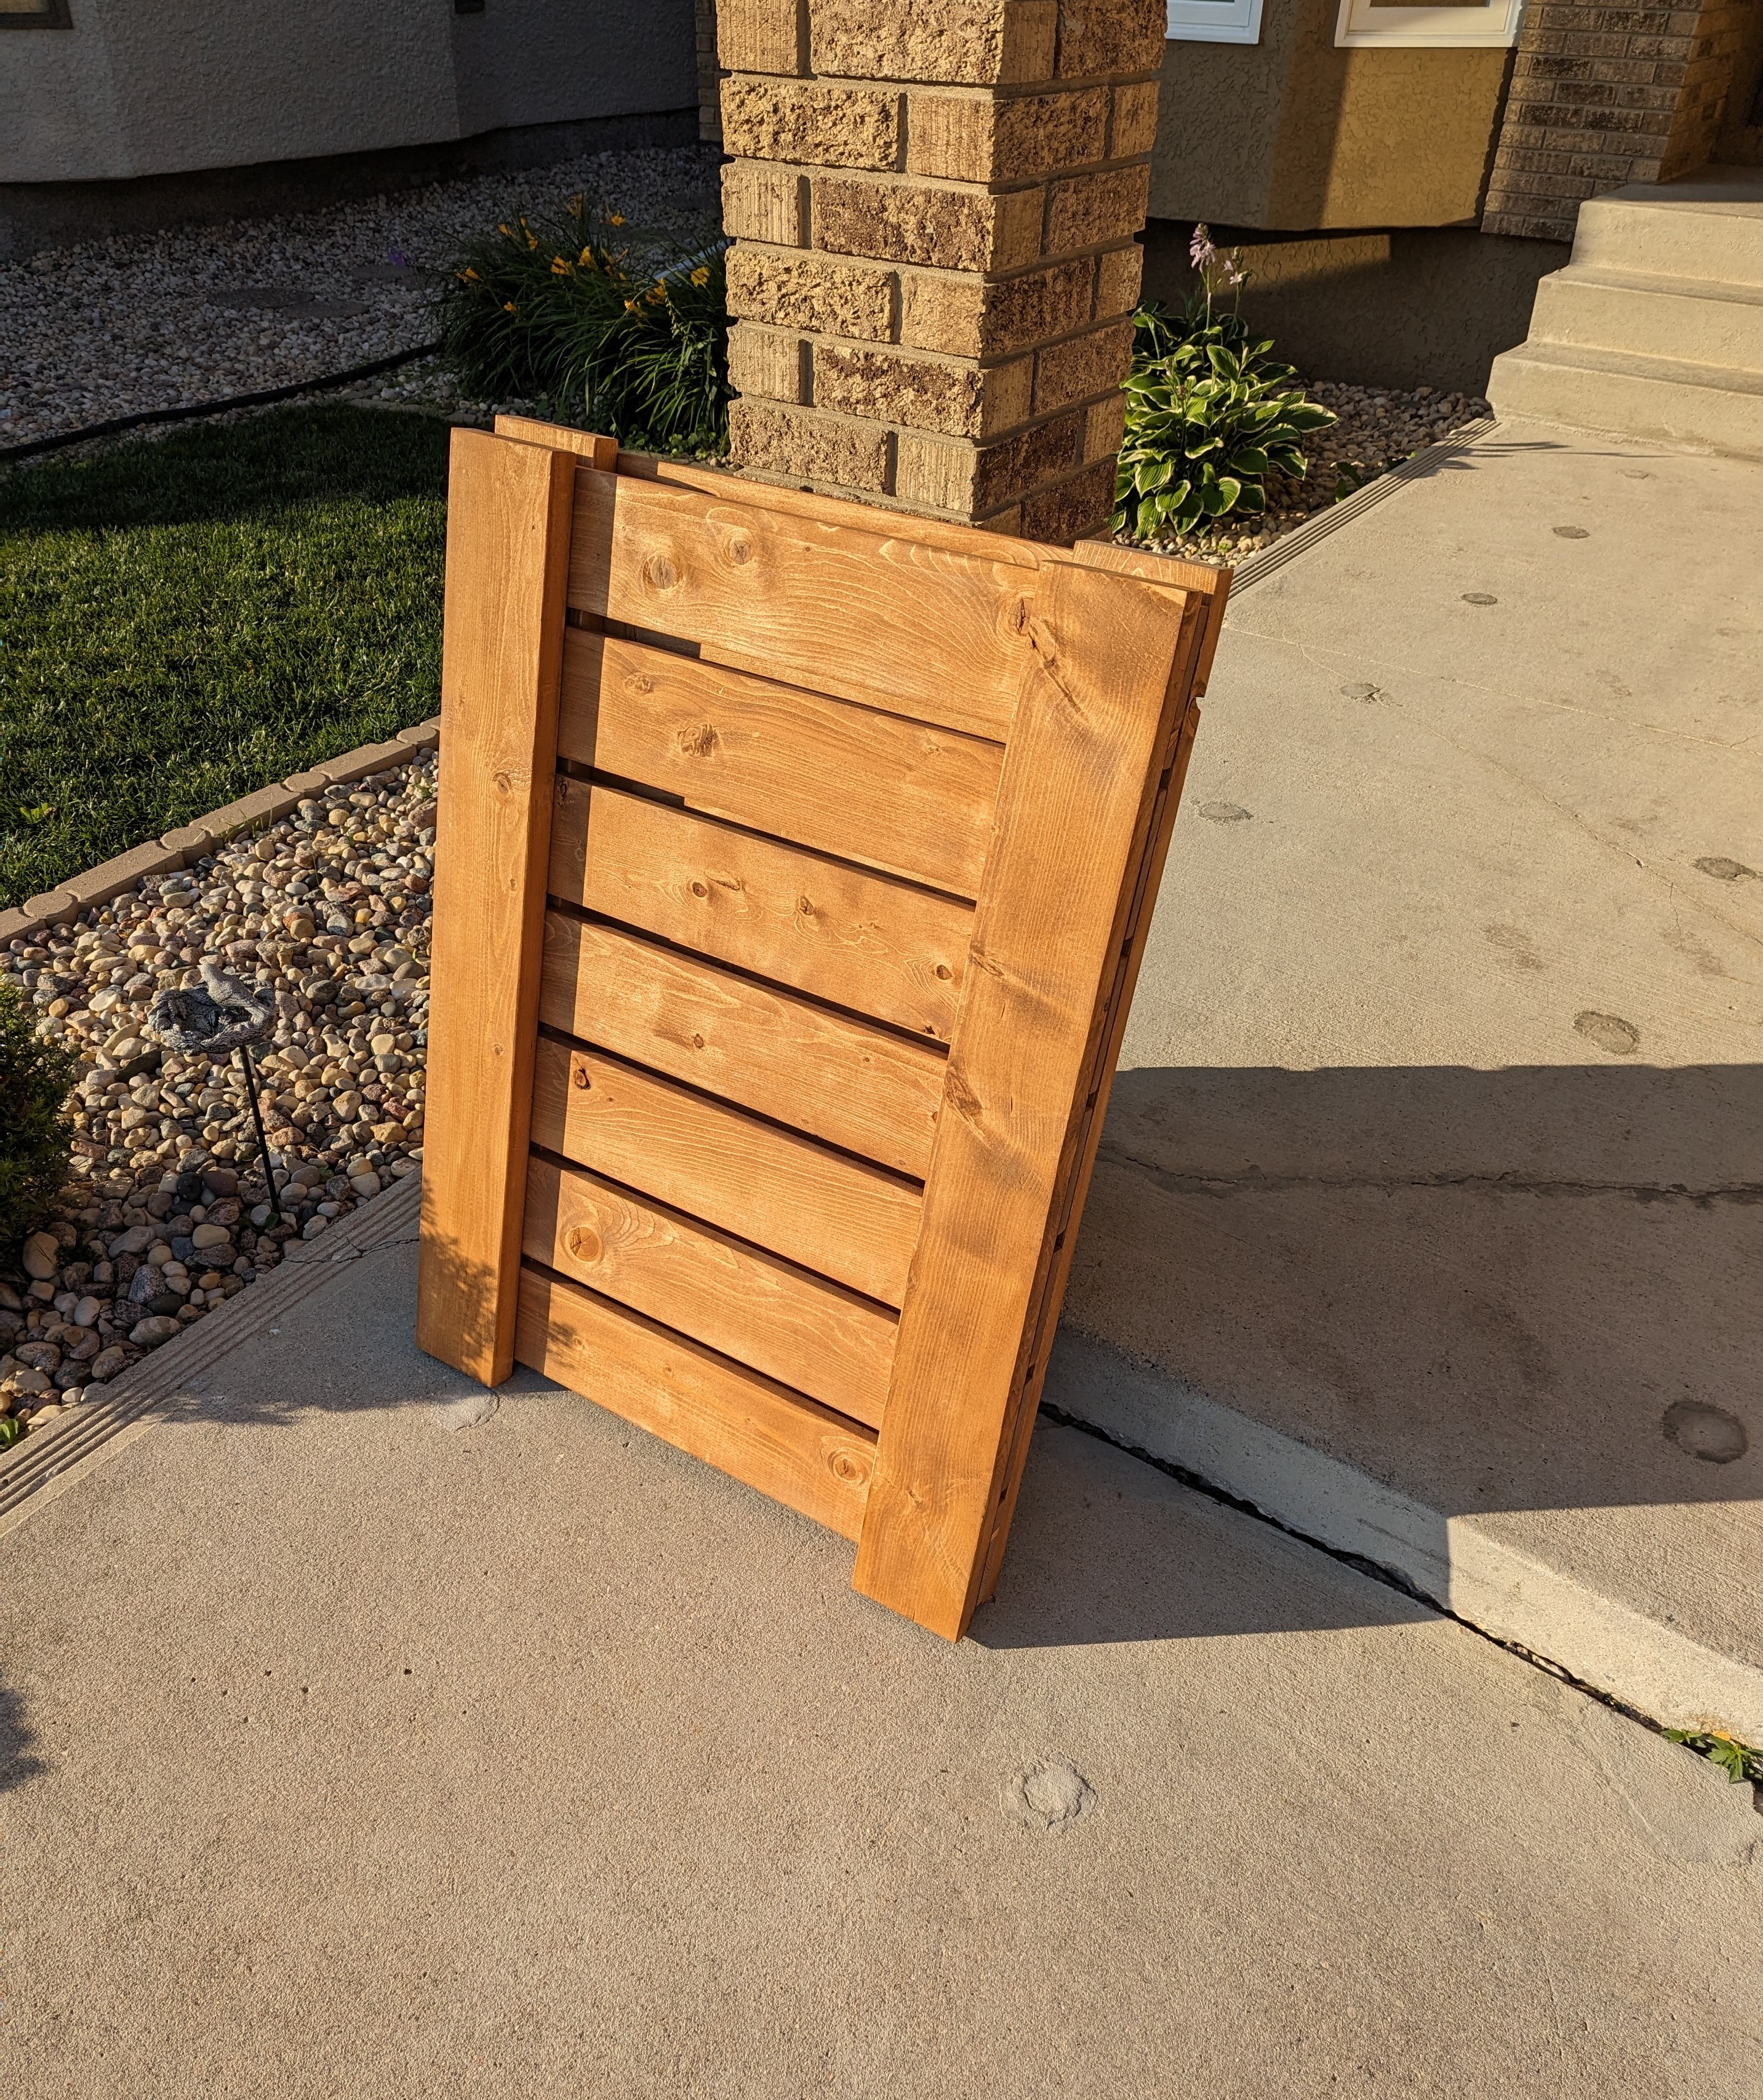
- Cut all wood to designed lengths.
- Stain wood to resist weathering.
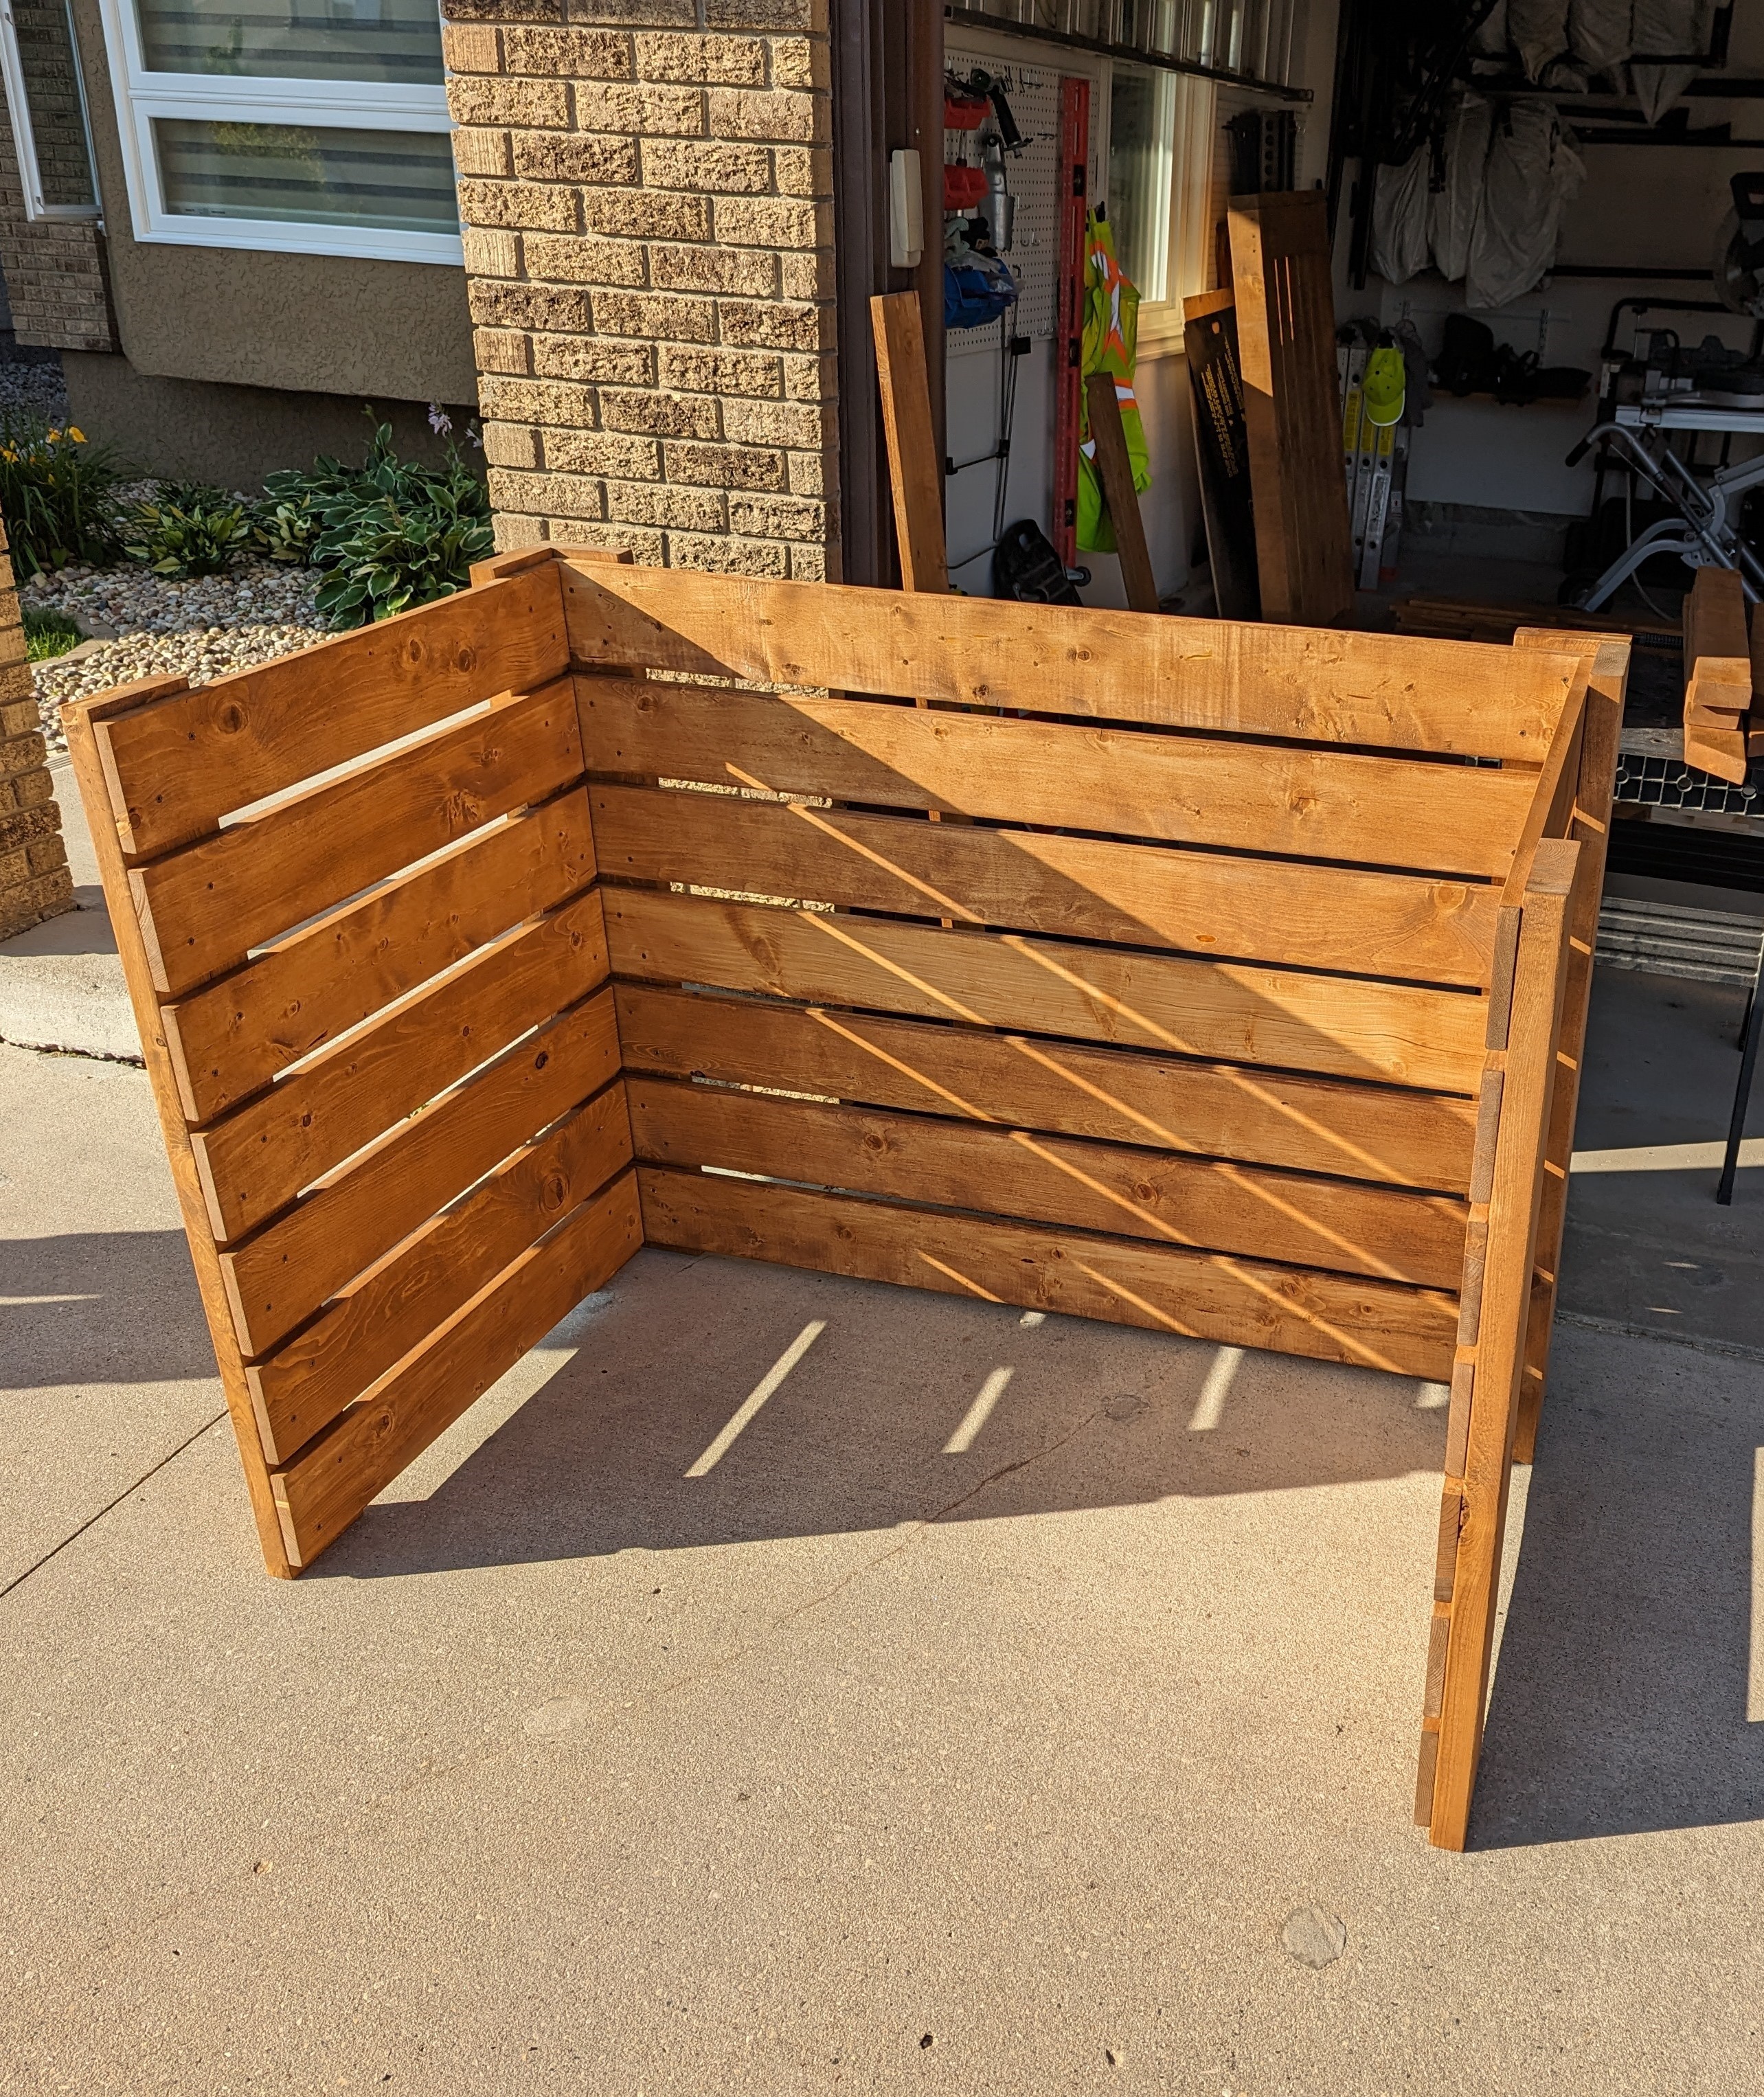
- Assemble in sections, including the back, sides, front, gate, and lid.
- Assemble the main body and reinforce with metal angle posts.
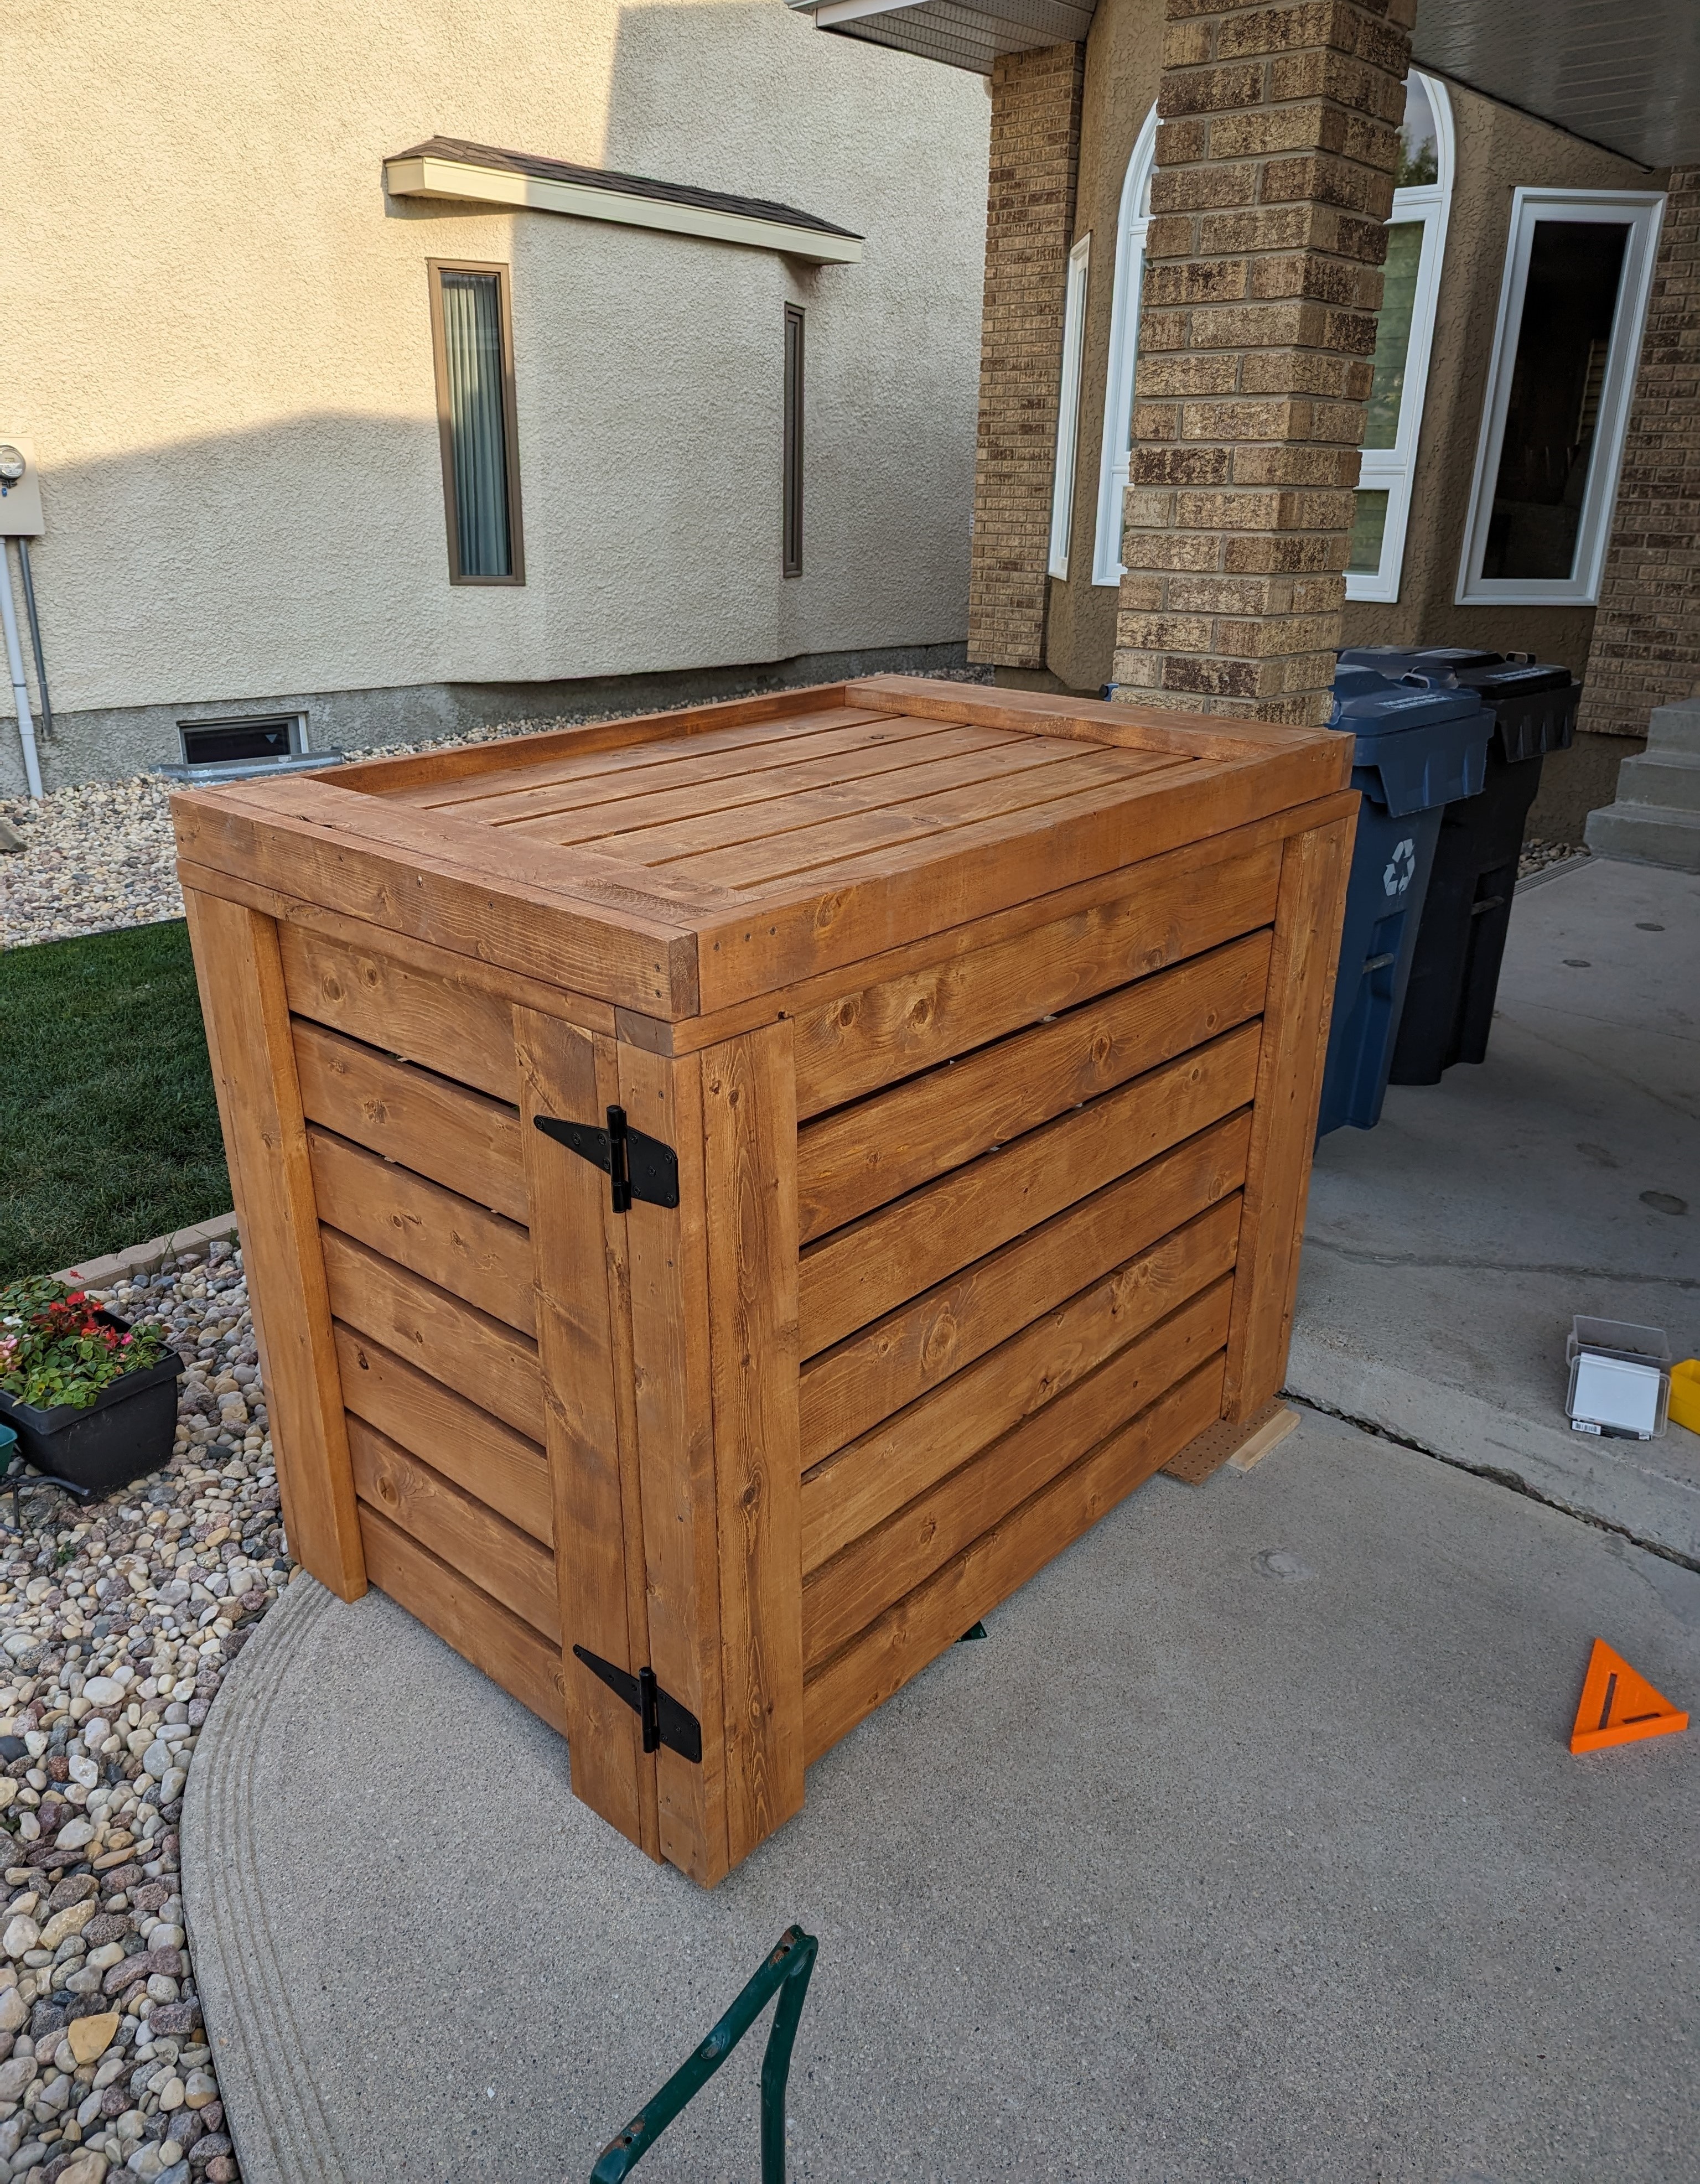
- Install both the lid and gate, with 2 gate hinges each, to main body.
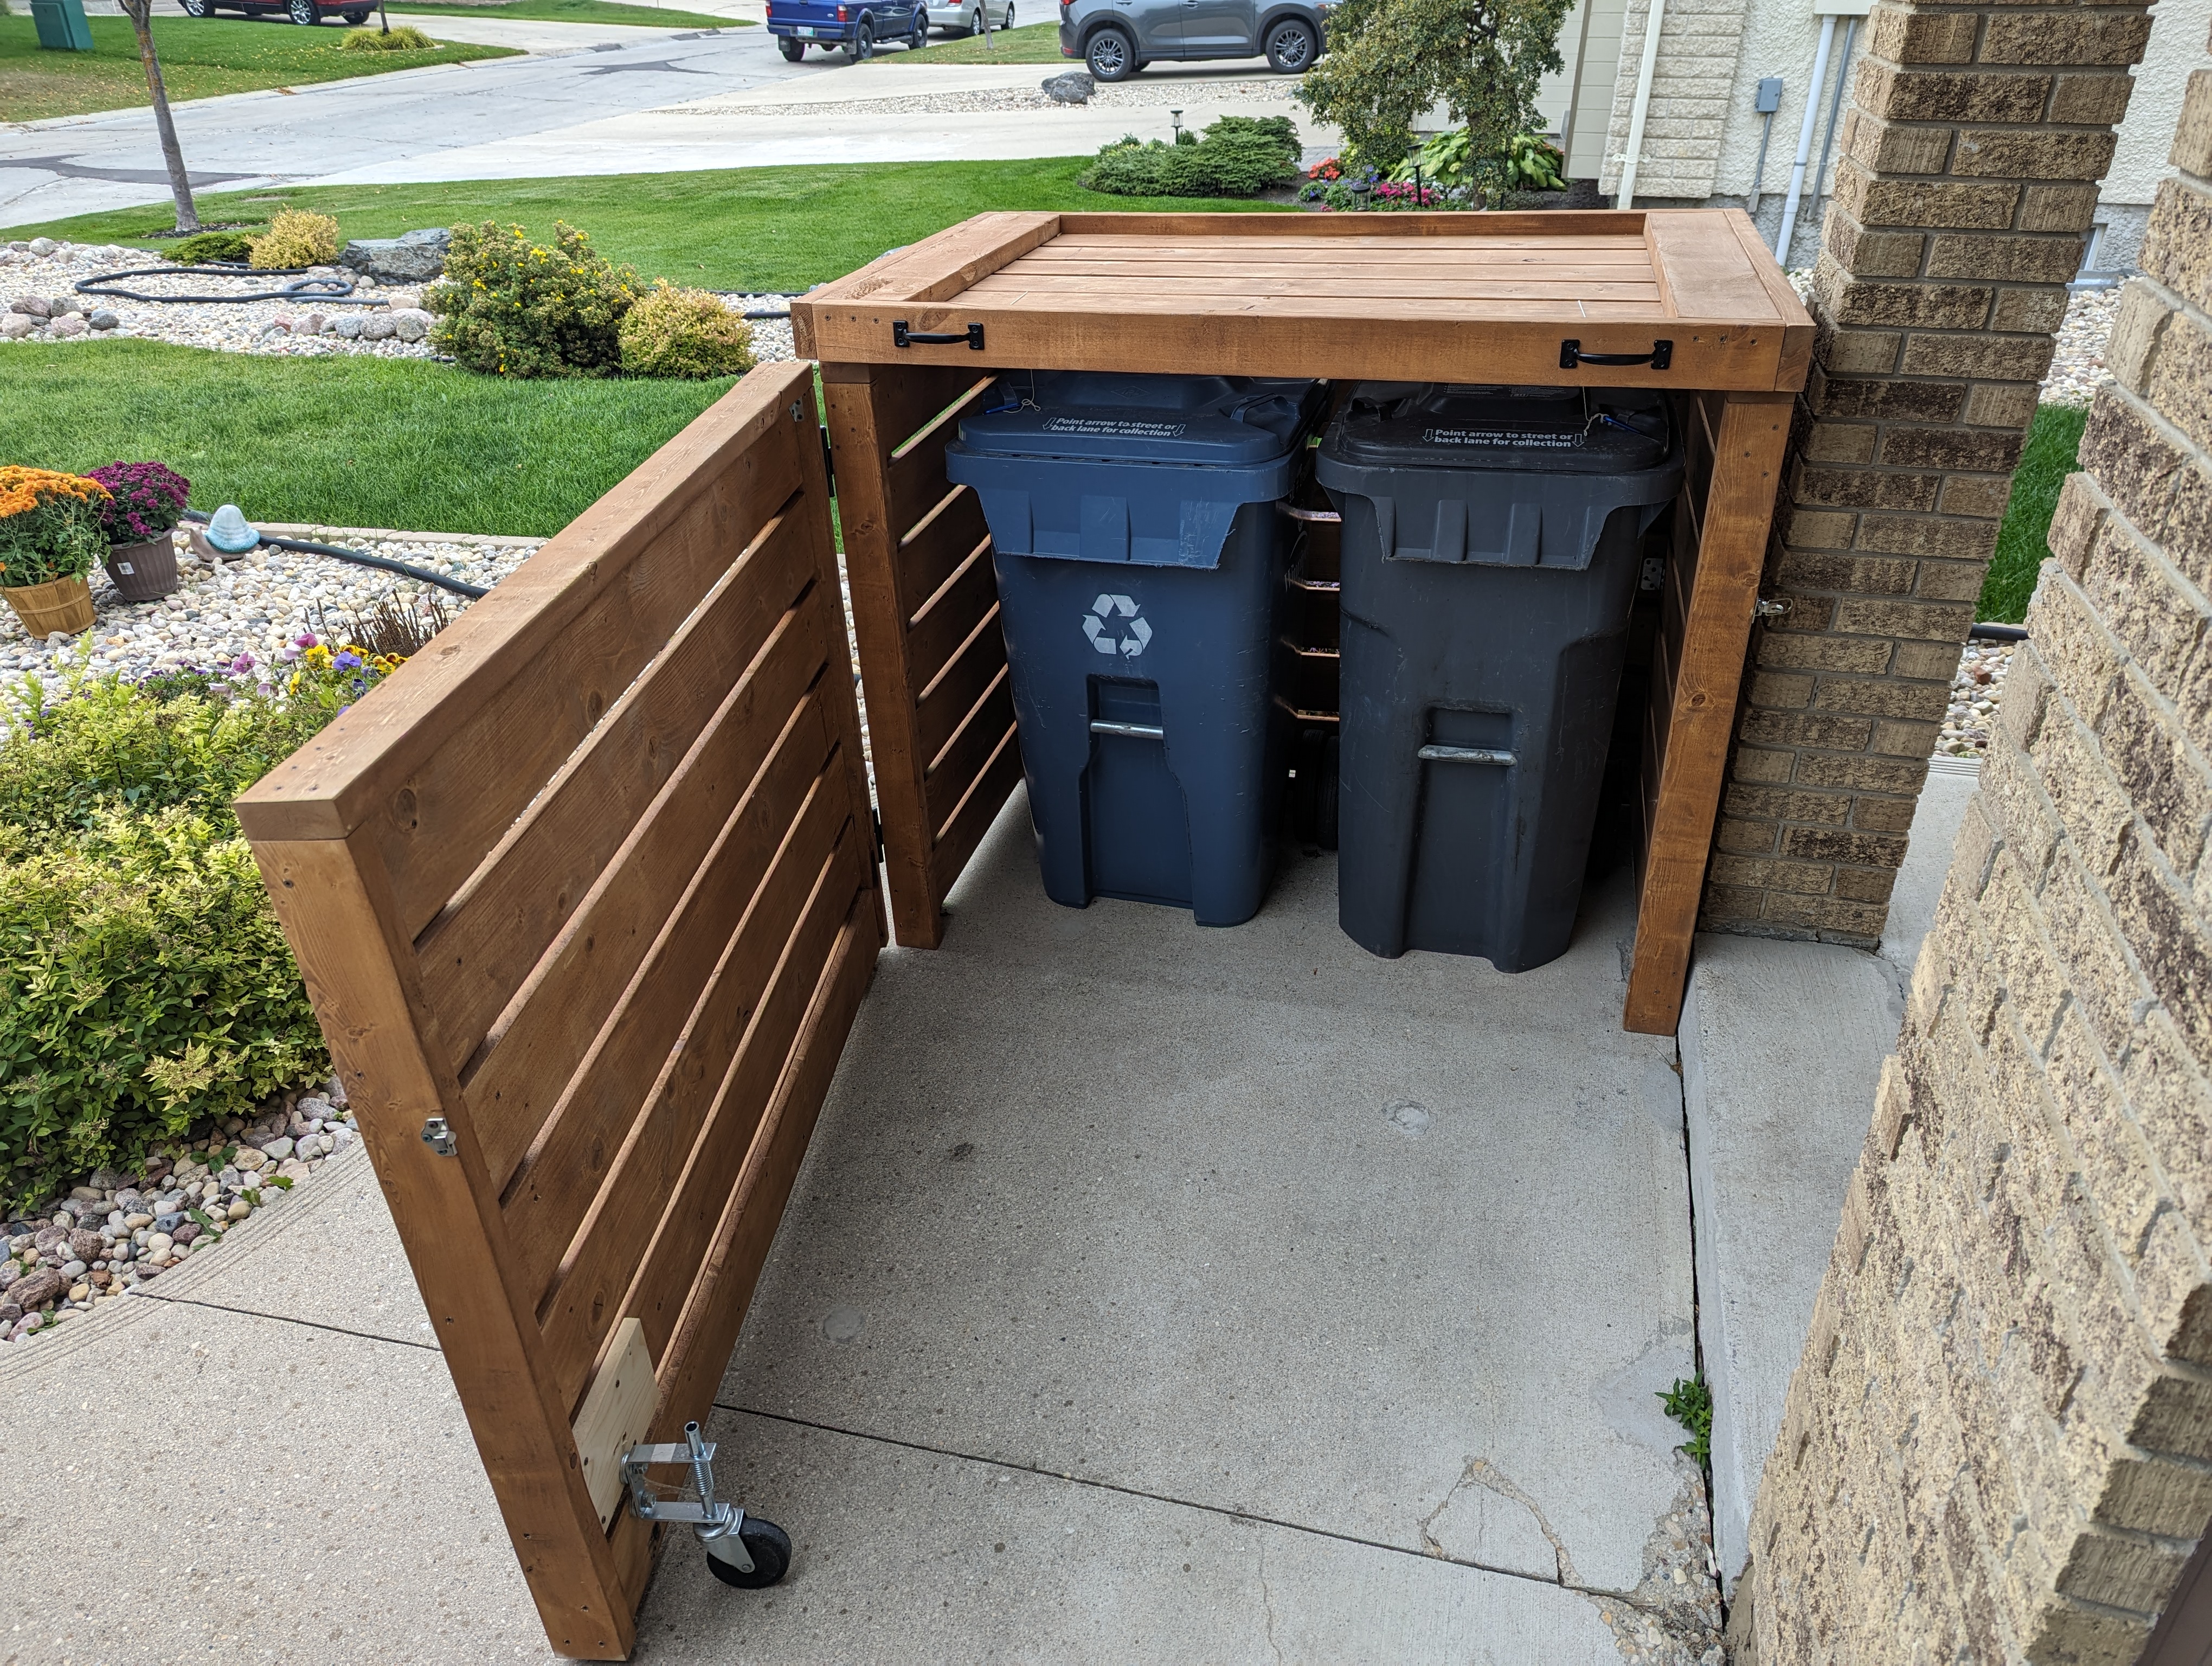
- Install gate wheel on inside of gate. Use washers to extend out if wheel is rubbing against frame.
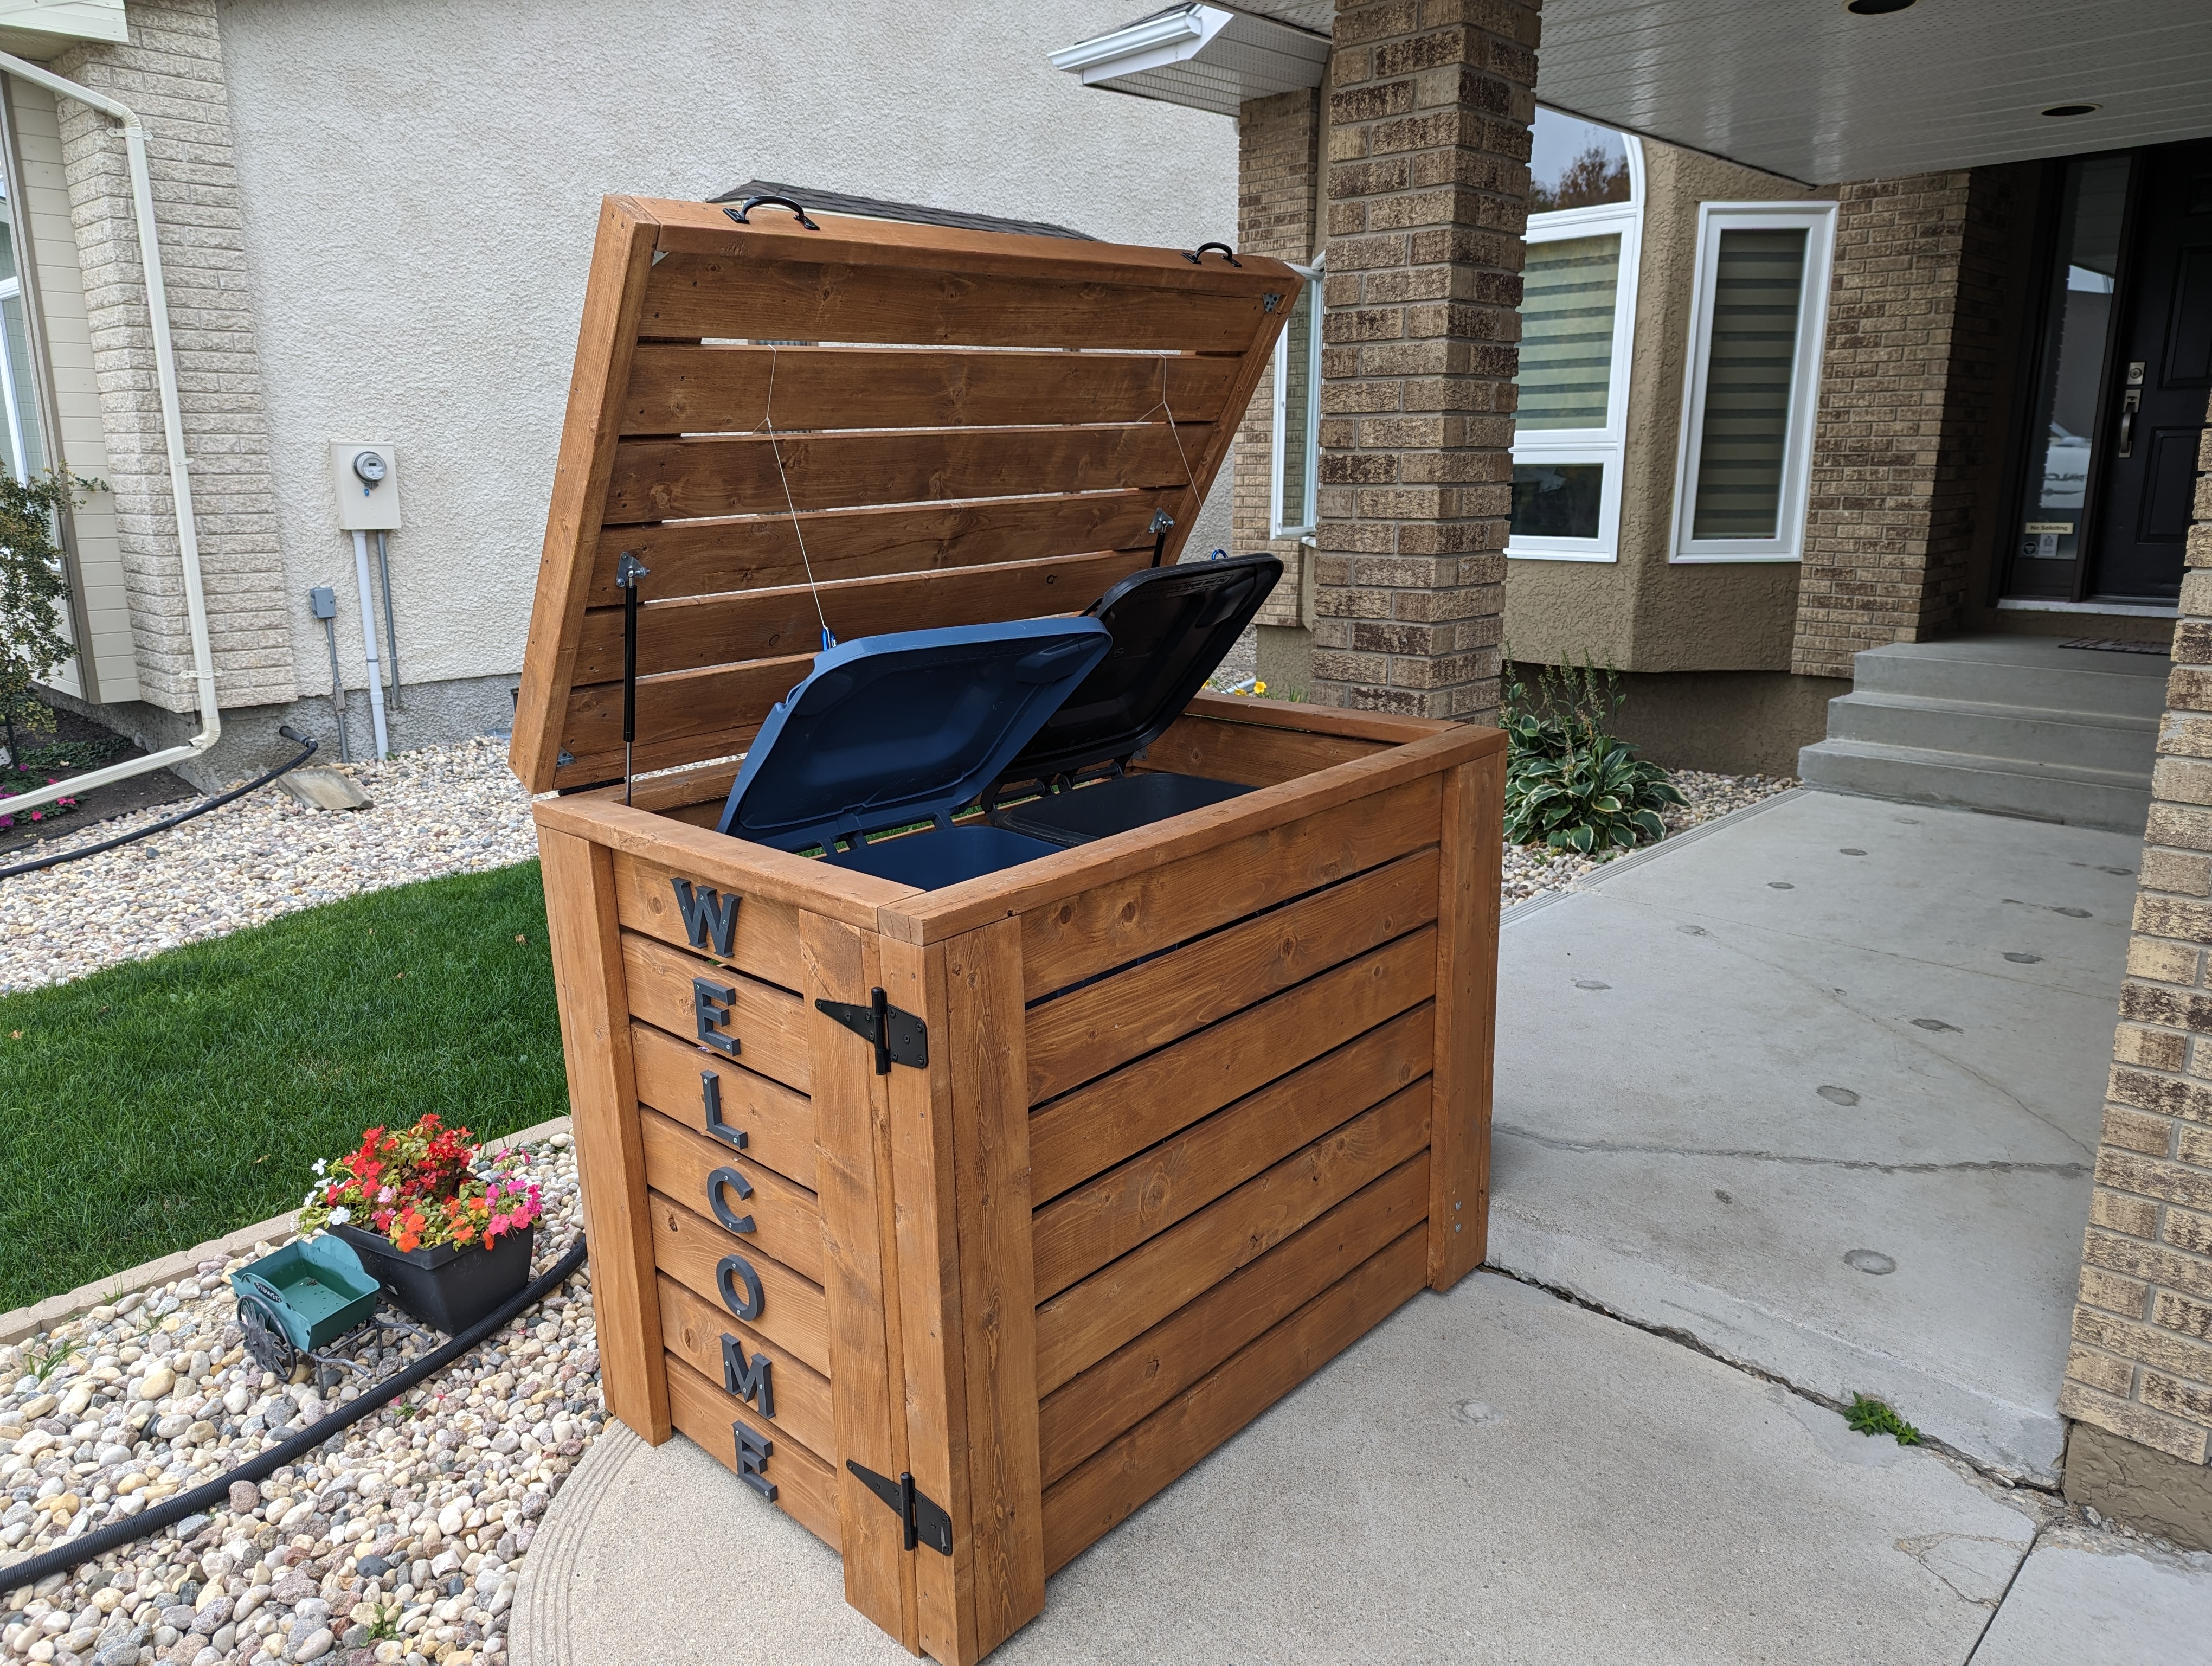
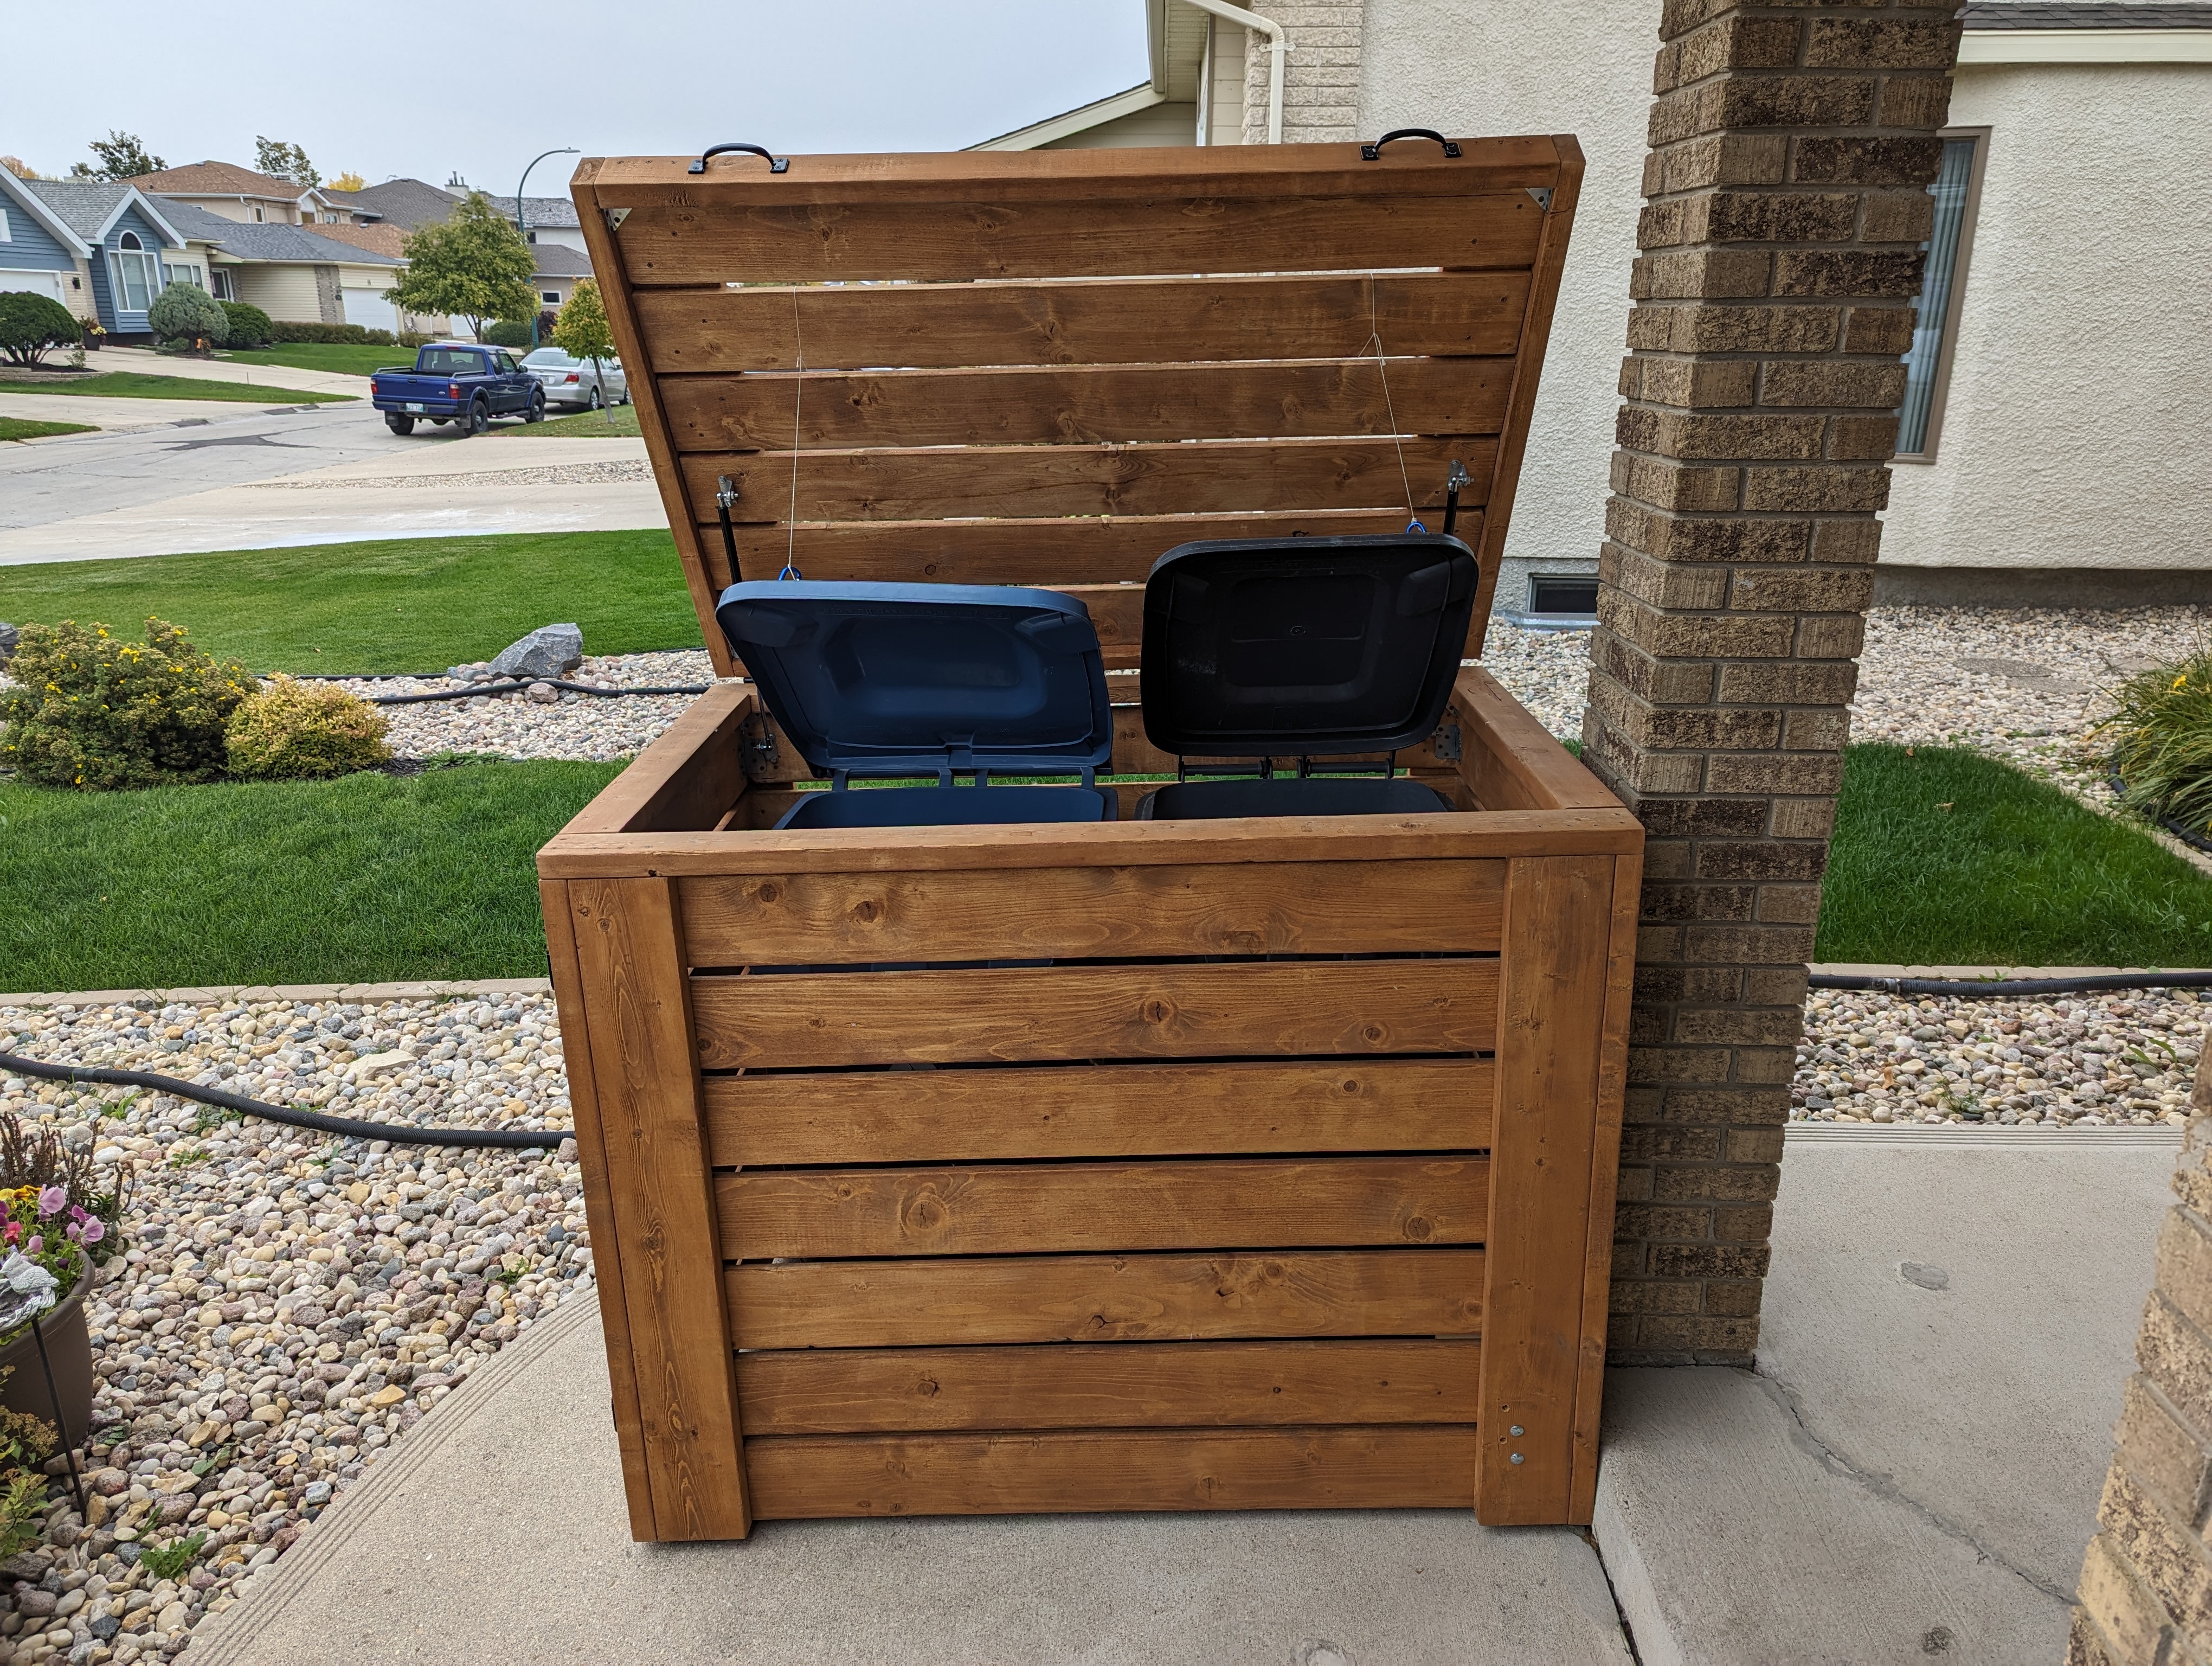
- Install piston strut hinges to the back and lid.
- Install handles on lid and lock on gate.
- Use string between wood planks and garbage lids so they open in unison.
I started out in AutoCAD and came up with a structure for each component, which included the main body, lid, and gate. I added in a 10% tolerance to each measurement to ensure that the bins could be easily rolled into the enclosure without hitting the walls or lid. Once the AutoCAD was completed, I started investigating other components that I would require to complete the design. I opted to use fence hinges for both the lid and gate as they are meant to withstand similar loading. I also reinforced the connections at the corners with some metal angle posts to take less of the moments off the wood. To ensure the lid would be light enough to lift and make it stay open, I installed 50lb gas piston struts. Since the gate was quite wide, I installed a gate wheel on the inside. This allowed the gate to be opened easily, but still hide the wheel.
The main benefit of designing the enclosure in AutoCAD was that I could make a cut list. I knew exactly what I needed to cut and where it needed to go. Next time, I may buy pretreated wood, as the sanding and staining process was very labour intensive. I also wouldn’t use any 45-degree cuts on the wood, as it may be aesthetically pleasing, but it diminishes its strength.
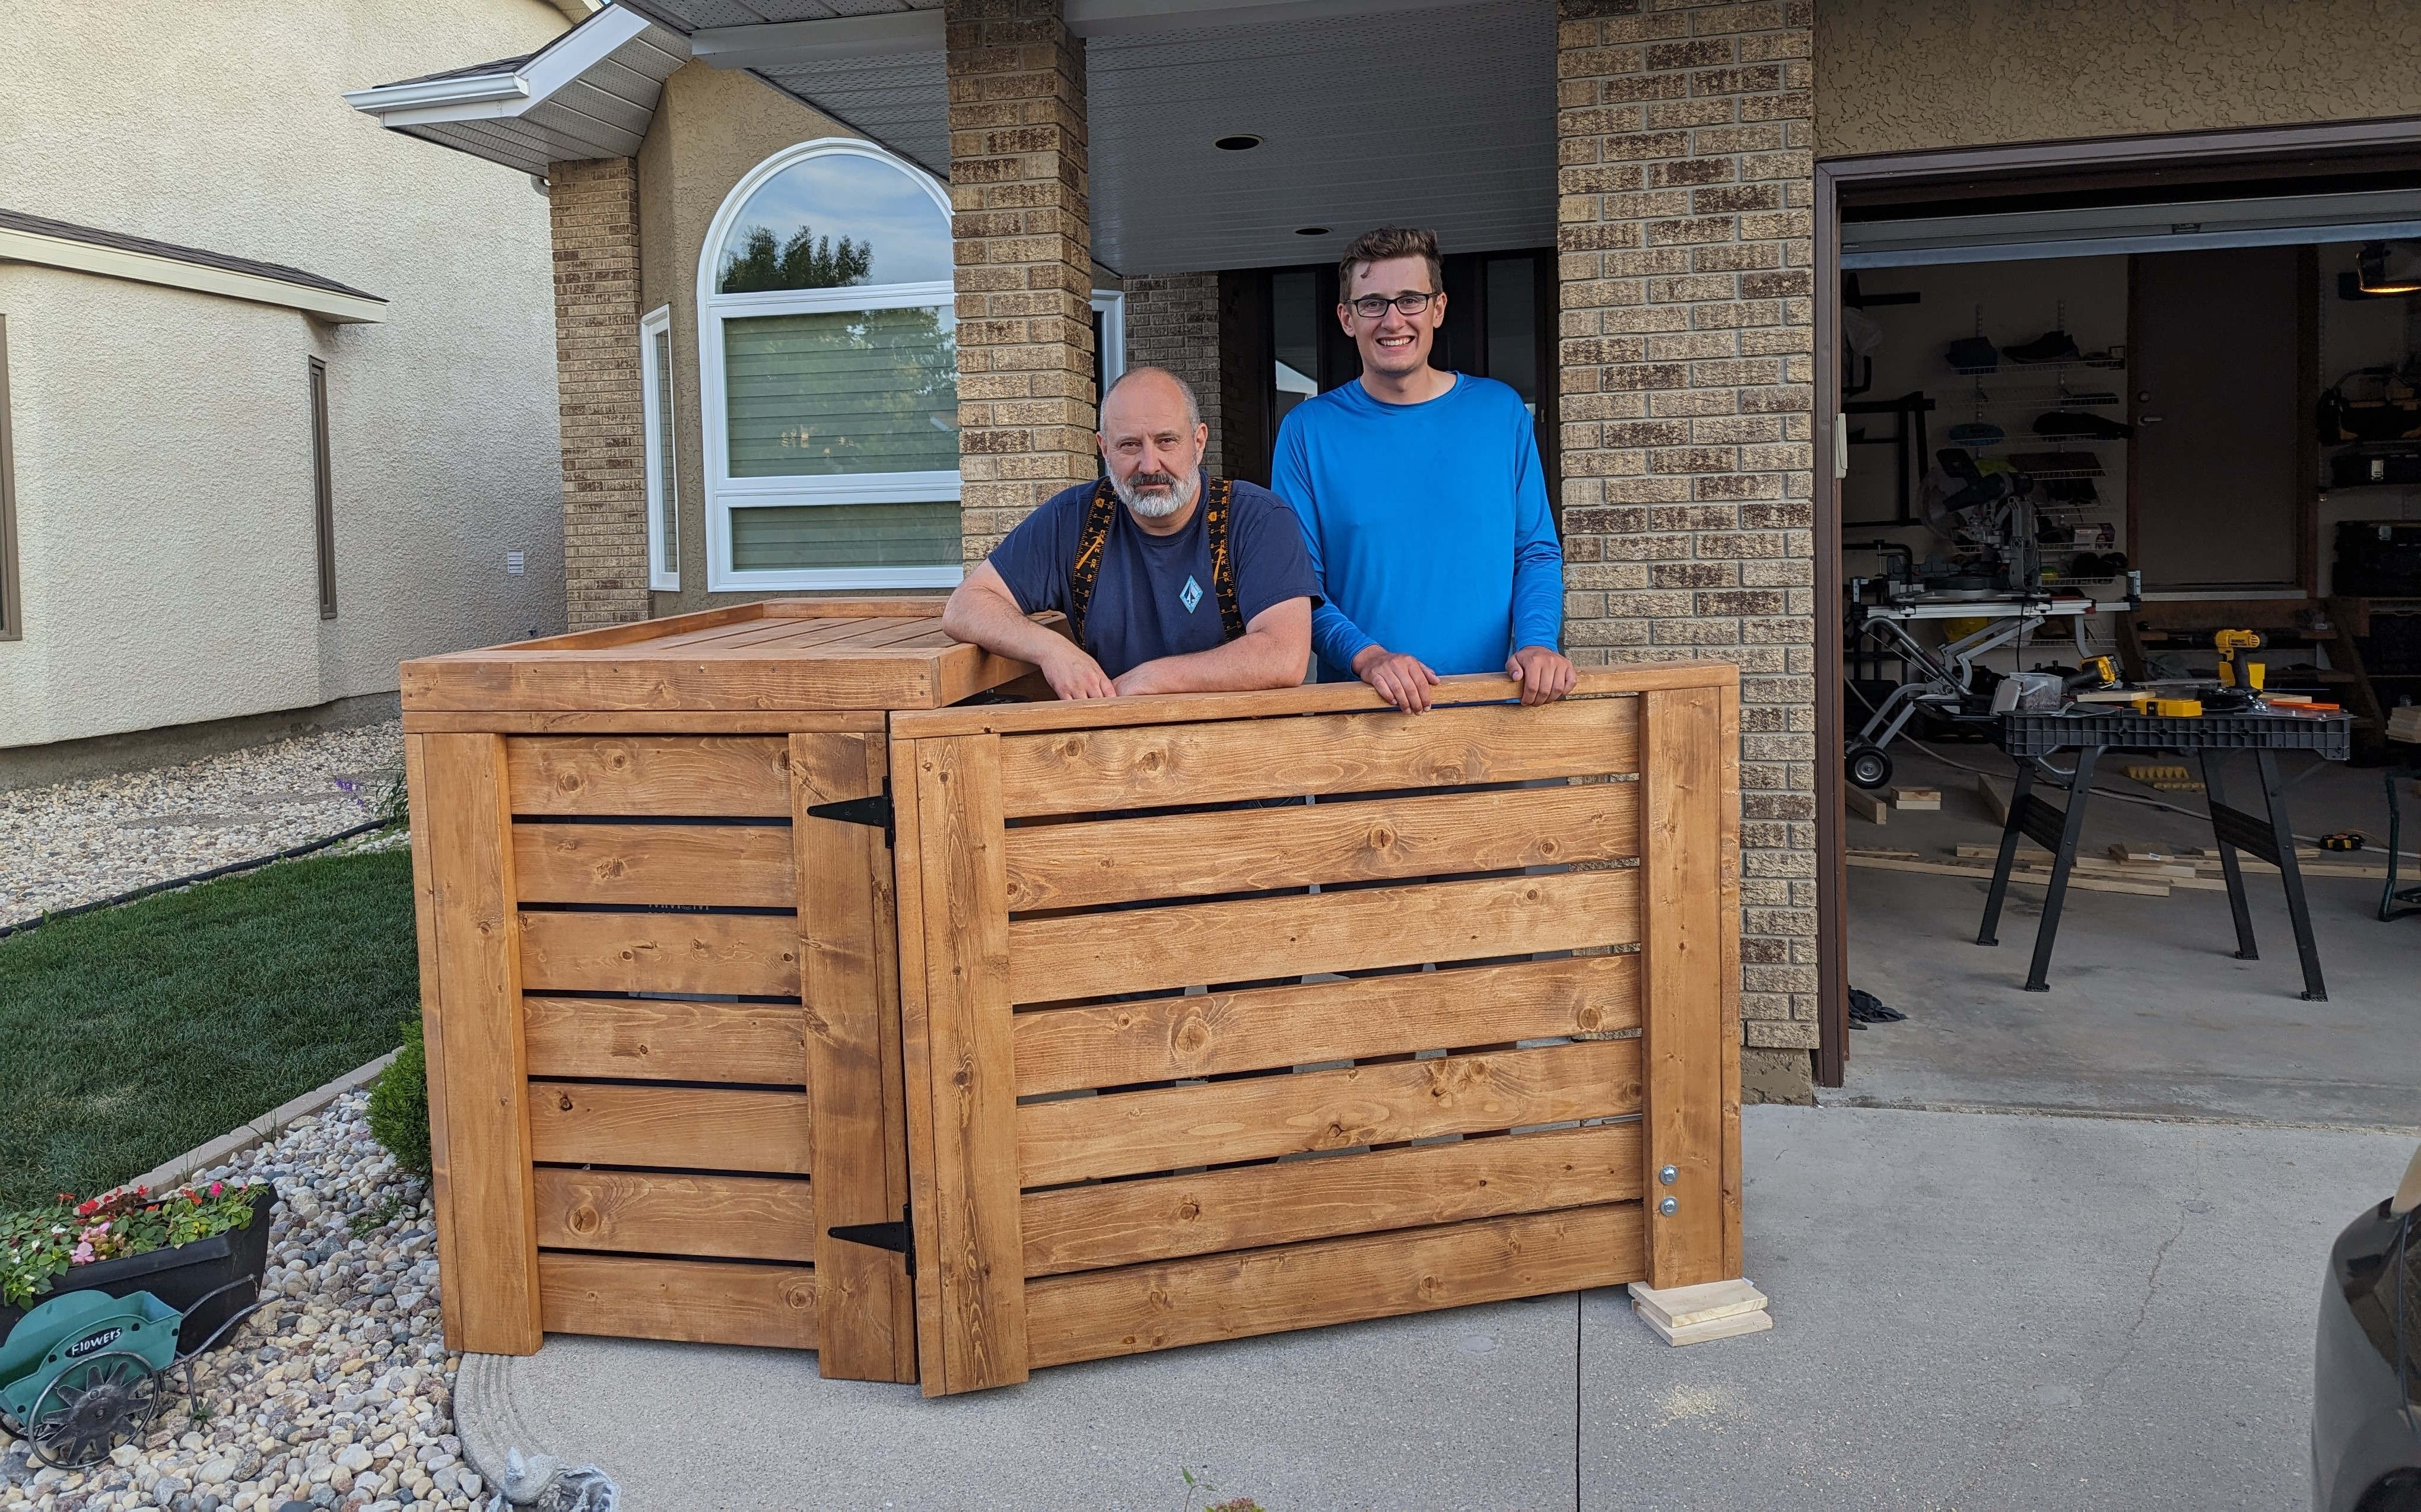
I have received numerous comments from people around the neighbourhood saying how much they love the enclosure. People often take pictures of it. My mom and dad both love the enclosure, with the only complaint being they can’t reach to the bottom of the bins when empty. Other than that, it was a huge success.